Full recipe for a better, tastier and healthier homemade Hazelnut Chocolate Spread
Like most other people in Germany I grew up eating a lot of hazelnut chocolate spread (of course most of the time the one of the best selling brand out there). And I continued to love it when getting older.
However, I also started to look at my diet more closely and the quality of things I usually eat. Having a close look at the branded hazelnut spreads out there is eye opening. Let’s have a look at the ingredient list and nutritional values of the best selling Hazelnut Spread:

That Hazelnut Spread contains 13% Hazelnuts. Around 70% of this product is palm oil and sugar (this is why it tastes good, fat and sugar combined always tastes good). However, they still call this product Hazelnut Spread.
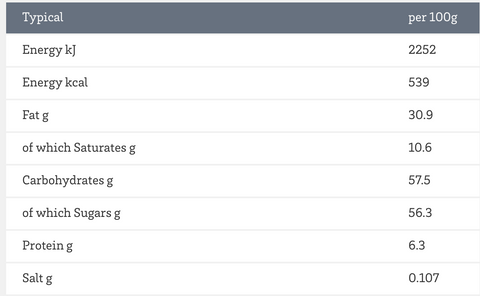
Nearly 60% of the final product is sugar, nearly 11% is saturated fat. The portion of 15g is actually tiny, but it’s still around 10% of the recommended intake – per day.
Let’s have a look if we can make this better, healthier, and still make it taste great. Let’s make a REAL Hazelnut Spread.
Shopping List for your homemade Hazelnut Chocolate Spread
- Hazelnuts, 1 pack (200g)
I tried raw hazelnuts before, but the best results I had was with blanched and roasted hazelnuts - Cocoa Powder, 1 to 2 tea spoons
- Honey, 1 tea spoon
- Dark chocolate, 30g to 35g
I usually tend to use chocolate with high cocoa content as that’s low in sugar - Optional: Cocoa Nibs (just a few)
Needed equipment
- Strong food processor
- Beautiful glass jars with lid
How to do
1) Grind Hazelnuts
Put the hazelnuts into your food processor / chopper and grind them. First they will just be chopped, just continue (that’s why you need a strong food processor that can go for a few minutes). After a while, they will transform themselves into soft consistency. That’s the whole secret: If it’s not hazelnut butter, keep grinding.
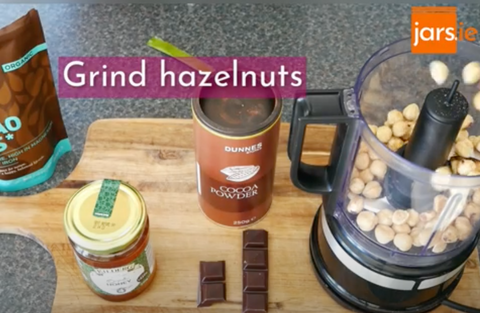
Grind hazelnuts
2) Add Cocoa Powder
Add the cocoa powder. The more cocoa powder you use, the darker your hazelnut spread will be. I tend to use 1 to 2 tea spoons.
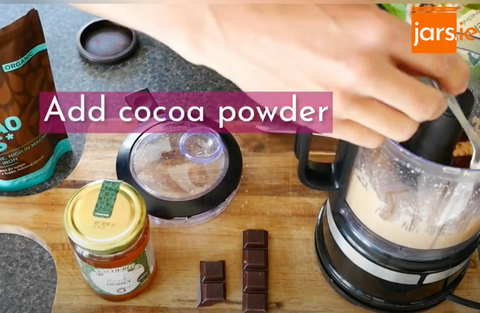
Add cocoa powder
3) Add chocolate and cocoa nibs
Put in the chocolate (cocoa nibs are optional for adding a bit more crunch). If you don’t grind too much longer, you will find little chocolate chunks in the final spread. 🙂
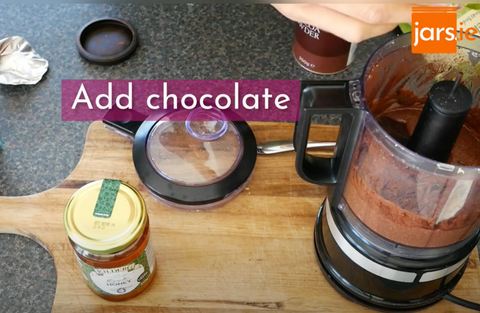
Add chocolate
4) Add honey
The more honey you add, the stiffer the spread will become. I recommend to use just a little, then grind a little more and check if you like the consistency. If it’s too runny, just add a little more honey, little by little.
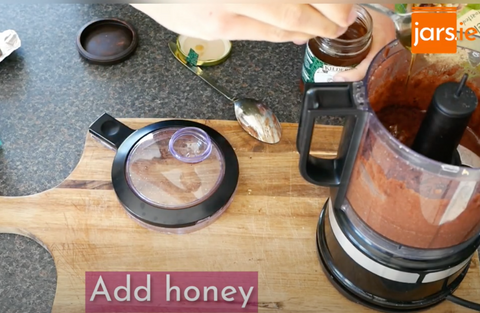
Add honey
5) Put into a beautiful jar
If you put it into a nice jar, close and seal it, your Hazelnut Chocolate Spread will be good for a few weeks.
You can even pasteurise it to make it last longer – but it will become a little dryer.
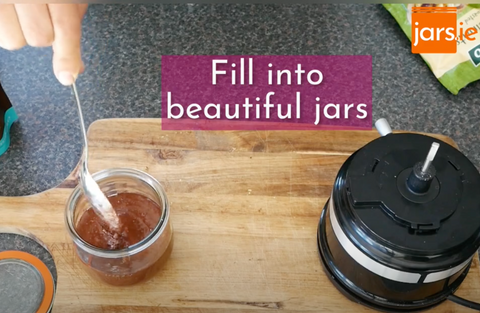
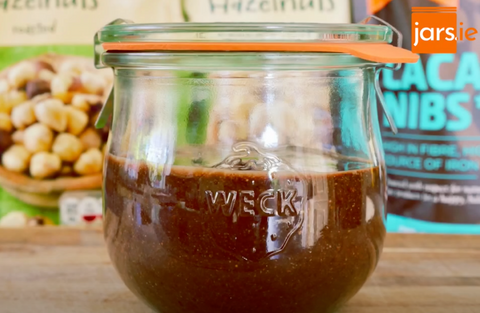
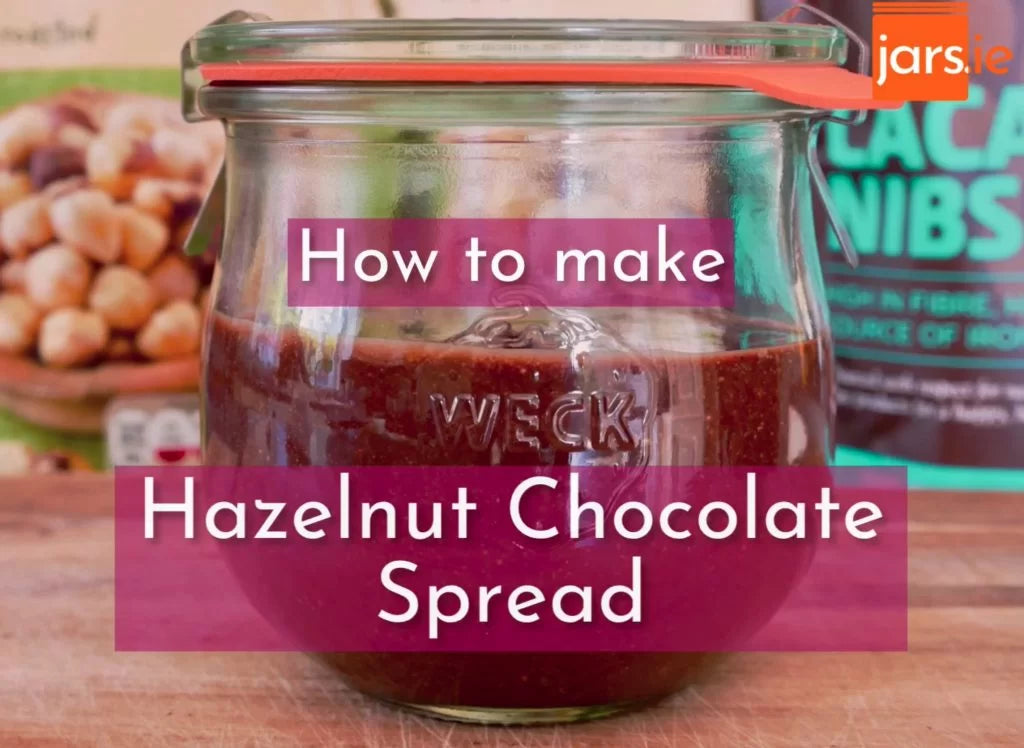
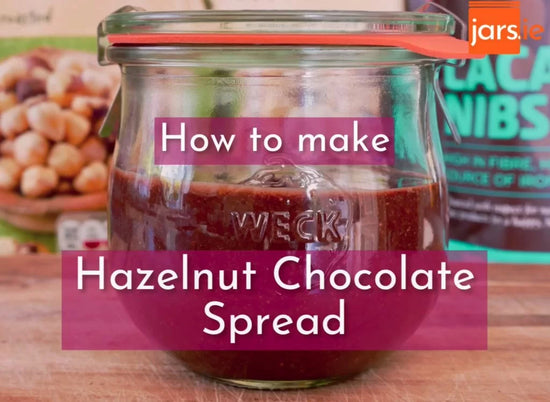
Fill into jar
6) Enjoy 🙂
Congratulations! You just created a Hazelnut Chocolate Spread that
- actually contains a decent amount of hazelnuts (80% vs. 13% of your shop bought version)
- does not contain any palm oil
- has much more unsaturated fat that is actually good for you (more than double)
- has much less sugar (12% vs. 56% of your shop bought version)
- has more protein
- tastes better (ok, that is subjective – but it definitely tastes nuttier)
